Masonry structures are highly durable, yet over time, they can suffer from wear and damage. If you’ve noticed cracks or other signs of deterioration in your masonry walls, it’s crucial to repair them promptly. Proper masonry repair not only restores the structure’s appearance but also enhances its durability and stability. In this guide, we’ll walk you through how to repair a masonry wall effectively, discuss the costs involved, and provide practical steps to tackle common issues like cracked masonry walls and damaged brickwork.
Repairing a masonry wall might seem tough, but with the right steps, anyone can do it. This guide will walk you through everything you need to know about fixing your masonry wall safely and effectively. From tools to techniques, we’ve got you covered!
Key Takeaways
- Always wear safety gear to protect yourself while working.
- Choose the right tools and materials for the job.
- Follow the step-by-step process for best results.
- Take your time to ensure proper curing of the mortar.
- Regular maintenance can prevent future damage.
What is Masonry Repair?
Masonry repair refers to the process of restoring brick, stone, or concrete walls that have experienced damage. This includes fixing cracks, replacing damaged bricks, repointing mortar, and reinforcing weakened structures. Homeowners often wonder, “How much does masonry repair cost?” The answer depends on factors like the extent of the damage, type of materials, and labor involved.
By understanding the basics of how to repair masonry structures, you can make informed decisions about whether to handle the repairs yourself or hire professional services.
Safety Precautions for Masonry Wall Repair

When repairing a masonry wall, it’s crucial to prioritize safety. Here are some essential precautions to follow:
Wearing Protective Gear
- Always wear safety goggles to protect your eyes from dust and debris.
- Use a dust mask to avoid inhaling harmful particles.
- Wear sturdy gloves to protect your hands from sharp tools and materials.
Handling Tools Safely
- Ensure all tools are in good condition before use.
- Use the right tool for the job to prevent accidents.
- Keep your workspace organized to avoid tripping hazards.
Working at Heights
- If you need to work on a tall wall, use proper scaffolding for stability. This is important for safety and efficiency in masonry work.
- Always have someone nearby to assist you when working at heights.
- Make sure the scaffolding is set up on a level surface.
Dealing with Dust and Debris
- Regularly clean your workspace to minimize dust accumulation.
- Use a vacuum or damp cloth to clean surfaces instead of sweeping, which can stir up dust.
- Dispose of debris properly to keep the area safe and tidy.
Remember, taking the time to follow these safety precautions can prevent accidents and ensure a successful repair process.
Step-by-Step Guide to Repairing a Masonry Wall

Step 1: Assess the Damage
Before you begin the repair, thoroughly assess the condition of the masonry wall. This includes looking for visible cracks, spalling (where the brick surface peels or flakes), loose bricks, or gaps in the mortar. Some cracks may be superficial, while others could indicate a structural issue. Understanding the type and severity of the damage helps determine the best approach for how to repair masonry walls effectively.
Step 2: Gather the Necessary Tools and Materials
To successfully repair a masonry wall, having the right tools and materials on hand is essential. Here’s a list of items you may need:
- Safety goggles and gloves
- Chisel and hammer for removing damaged mortar
- Masonry trowel
- Mortar mix (specific to your wall’s material)
- Stiff wire brush
- Sealant for added protection
- Level and tape measure
Depending on the type of damage, you might need specialized tools like a caulk gun for applying crack filler. If you’re unsure about specific items, consider searching for “masonry repair near me” to consult a supplier or professional for guidance.
Step 3: Prepare the Wall for Repair
Preparation is key to achieving a solid repair. Start by cleaning the damaged area. Use a wire brush to remove loose debris, old mortar, and dirt around the cracked areas. This step ensures the new mortar or filler will adhere properly to the masonry surface.
If you’re working on a brick wall, make sure the bricks are dry before applying new mortar. For those asking how to repair cracks in masonry walls effectively, remember that a clean surface enhances the durability of the repairs.
Step 4: Repair Minor Cracks in the Wall
For minor cracks, use a masonry crack filler to seal the gap. Apply the filler directly into the crack, following the manufacturer’s instructions. Smooth the surface with a trowel for an even finish. Allow the filler to dry thoroughly before moving on to the next step.
When dealing with minor masonry cracks, it’s important to prevent moisture from seeping into the wall, which could worsen the damage over time. By addressing how to repair masonry cracks early, you’re protecting the wall from further deterioration.
Step 5: Fixing Major Cracks and Replacing Damaged Bricks
For larger cracks or severely damaged areas, you’ll need to remove the old mortar and any loose bricks. Here’s how:
- Use a chisel and hammer to carefully remove damaged mortar from the joints.
- If bricks are loose or cracked, remove them as well.
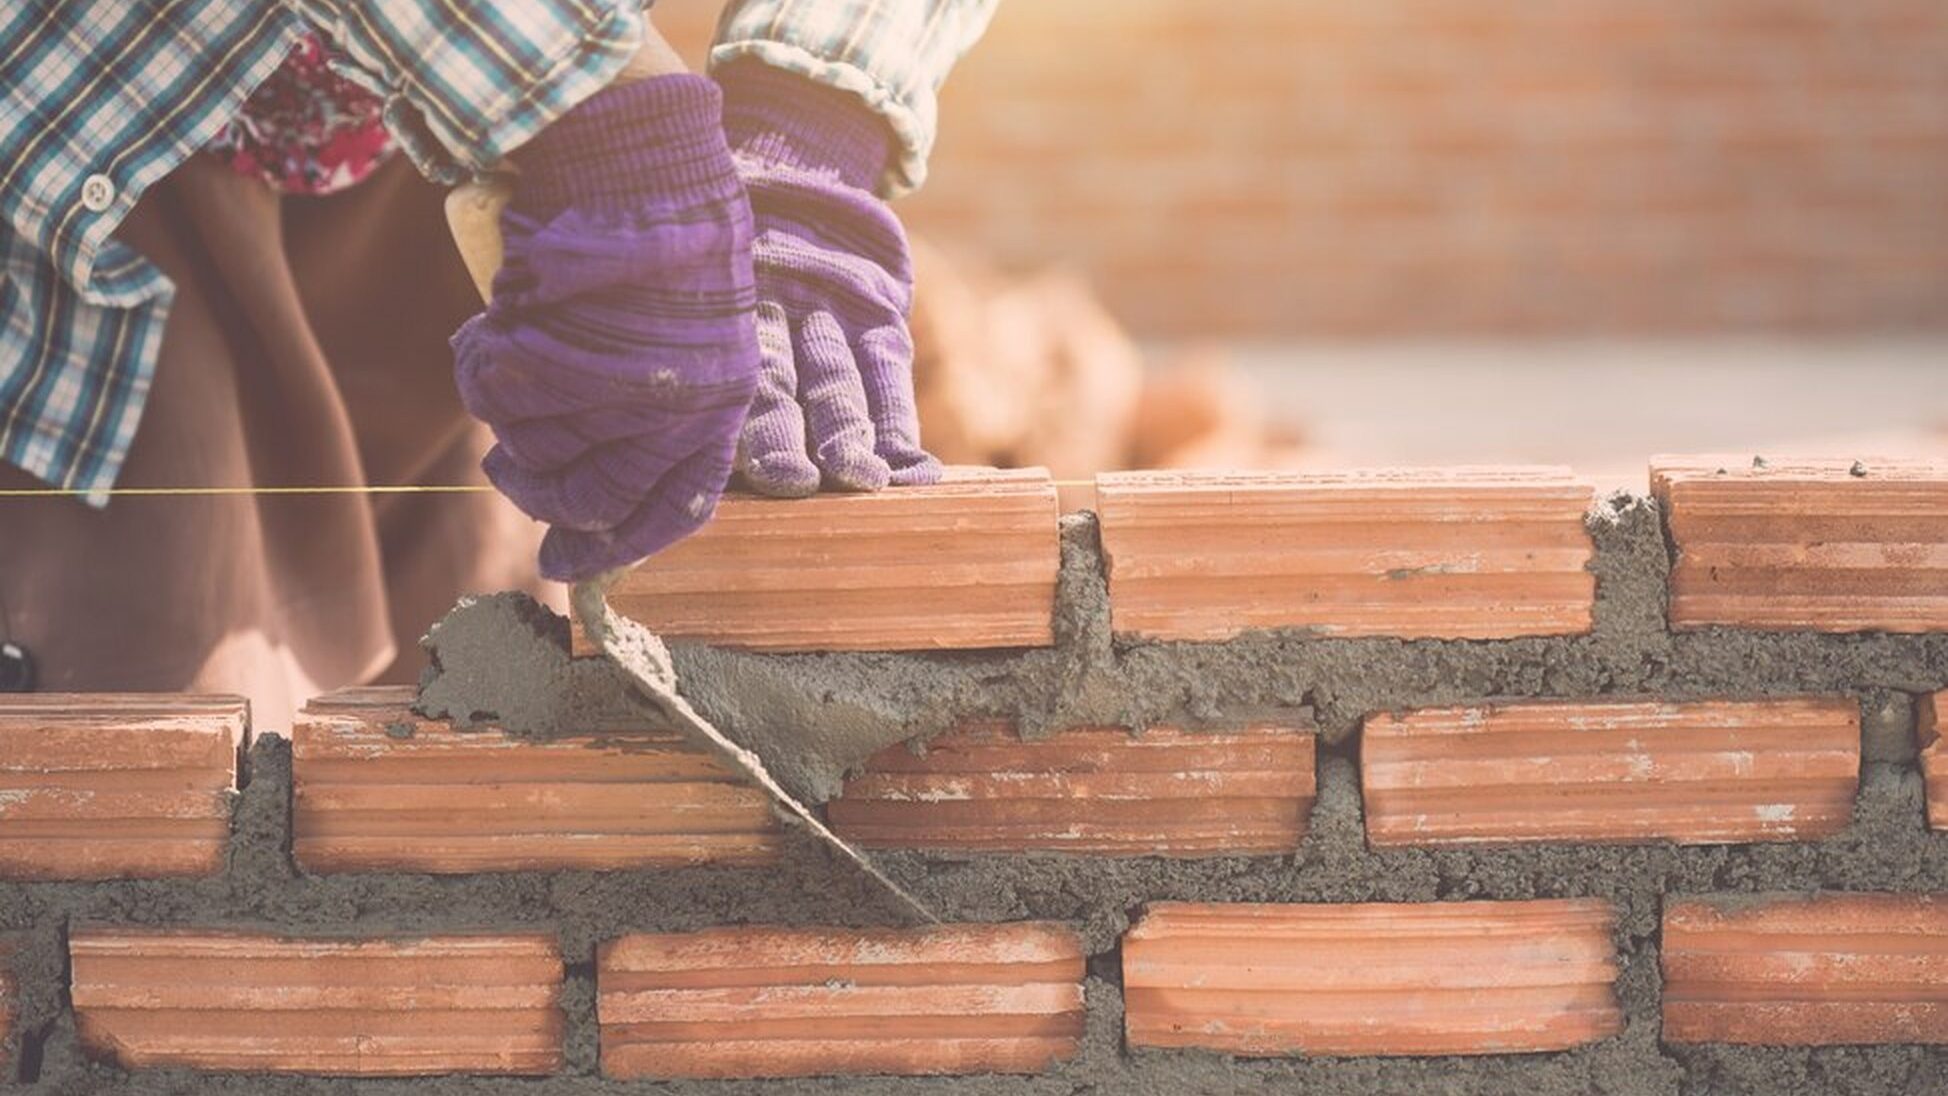
- Clean the empty spaces and apply fresh mortar using a trowel.
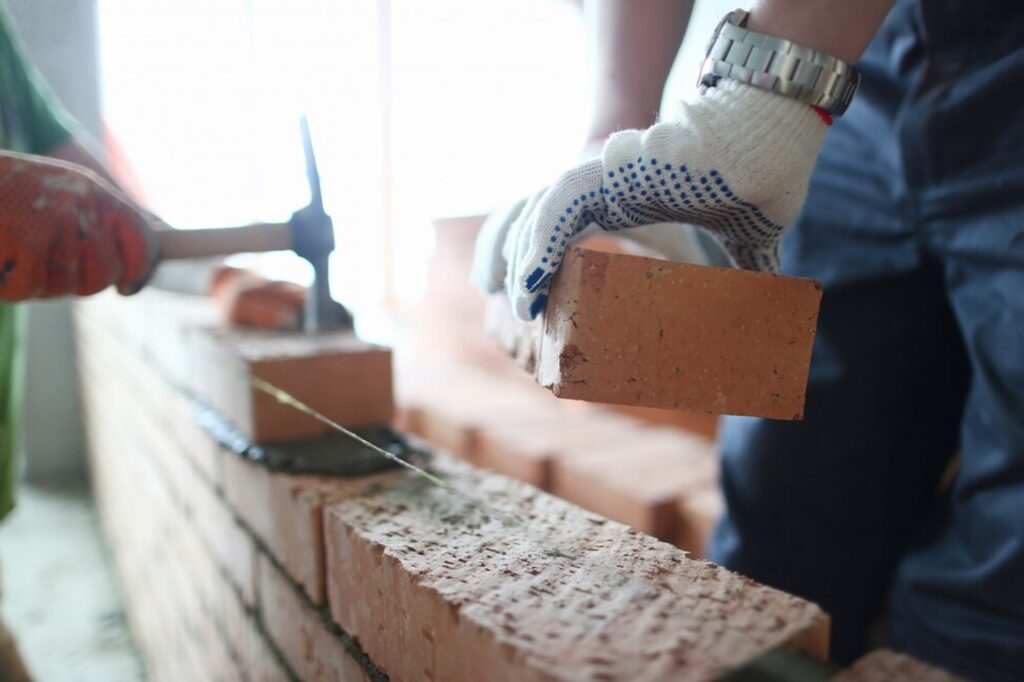
- Insert new or existing bricks back into place, pressing them firmly into the mortar.
- Smooth the mortar joints with the trowel for a seamless finish.
In cases of structural damage, it’s advisable to seek help from “masonry repairs near me,” as professionals can assess and handle complex repairs safely.
Step 6: Repointing Mortar Joints
Repointing is the process of renewing the outer part of mortar joints in masonry. If you’ve noticed crumbling or eroded mortar between bricks, repointing can restore the wall’s strength and appearance. Here’s how:
- Remove the damaged mortar with a chisel, ensuring not to damage the bricks.
- Mix a fresh batch of mortar that matches the wall’s existing material.
- Apply the new mortar into the joints using a trowel, filling them thoroughly.
- Smooth the surface for a consistent finish.
Repointing can extend the life of your wall, making it a crucial step in brickwork masonry repair.
Step 7: Seal and Protect the Repaired Area
Once you’ve completed the masonry repair, apply a masonry sealant to protect against moisture, freeze-thaw cycles, and other environmental factors. Sealing is particularly important for exterior walls exposed to the elements. It’s a simple step that can significantly prolong the life of your repairs and prevent future issues.
Benefits of Timely Masonry Repair
Repairing masonry damage early helps prevent costly repairs down the line. Cracks that go unaddressed can lead to water infiltration, structural weakness, and aesthetic decline. By learning how to repair masonry walls yourself or hiring professionals, you maintain both the integrity and beauty of your structure.
Additionally, a well-maintained wall increases property value and ensures a safe environment. Whether you’re tackling brick and masonry repairs on your own or seeking masonry repairs near me, proactive maintenance is key to long-lasting results.
Essential Tools and Materials for Masonry Wall Repair
Repairing a masonry wall requires the right tools and materials to ensure a successful job. Here’s what you’ll need:
List of Required Tools
- Trowel: A trowel is essential for applying and smoothing new mortar. Use a brick trowel for larger areas and a pointing trowel for smaller joints.
- Chisel: A chisel is necessary for removing old, damaged mortar. Opt for a flat utility chisel that fits into the joints.
- Safety Glasses: Protect your eyes from flying debris and dust.
- Dust Mask: This protects your lungs from harmful dust and particles.
- Stiff Bristle Brush: For cleaning out debris from the joints.
Choosing the Right Mortar
Selecting the correct mortar mix is crucial. For most repairs, Type N mortar is recommended as it is strong yet flexible enough for minor movements.
Preparing Your Workspace
- Clear the area of any debris.
- Ensure you have all tools within reach.
- Lay down a tarp to catch any falling debris.
Where to Buy Materials
You can find these tools and materials at local hardware stores or home improvement centers. Online retailers also offer a wide selection.
Having the right tools and materials on hand will make your masonry repair project smoother and more efficient.
By gathering these essential items, you’ll be well-prepared to tackle your masonry wall repair with confidence.
Techniques for Different Types of Masonry Repairs
When it comes to fixing masonry walls, there are several effective techniques to consider. Each method is suited for different types of damage and can help maintain the structural integrity of your home.
Repointing Mortar Joints
Repointing is a technique used to replace old, worn-out mortar between bricks. This process involves:
- Removing the damaged mortar with tools like chisels or grinders.
- Cleaning the joints thoroughly to ensure a good bond.
- Filling the joints with new mortar that matches the original.
This method not only strengthens the wall but also prevents water from seeping in.
Tuckpointing for Aesthetic Repairs
Tuckpointing is similar to repointing but focuses more on appearance. It involves:
- Applying a thin layer of colored mortar that matches the bricks.
- Creating a fine line between the bricks to give a neat look.
- Enhancing the overall beauty of the structure without major repairs.
This technique is great for maintaining the visual appeal of your masonry.
Patching Small Areas
For minor damage, patching is a quick and effective solution. Steps include:
- Assessing the damaged area.
- Cleaning out loose materials.
- Applying a suitable patching compound.
This method is ideal for small cracks or chips and can be done without extensive tools.
Rebuilding Large Sections
In cases of severe damage, rebuilding may be necessary. This involves:
- Removing the damaged bricks or stones.
- Replacing them with new materials that match the original.
- Ensuring proper alignment and bonding with mortar.
This technique is essential for maintaining the overall strength of the wall.
Remember, choosing the right technique is crucial for effective repairs. Always assess the type of damage before starting any work.
By understanding these techniques, homeowners can make informed decisions about how to best repair their masonry walls and protect their investment.
Cost of Masonry Repair

Understanding how much masonry repair costs can help you plan your project budget. Generally, the cost varies based on factors like the type of material, extent of the damage, and labor fees. Minor repairs, like filling small cracks, may cost under $500, while more extensive projects, such as replacing large sections of mortar, can range from $1,000 to $5,000 or more.
For accurate pricing, search “masonry repair near me” to compare quotes from local professionals who can provide tailored estimates based on your wall’s needs.
Common Mistakes to Avoid in Masonry Wall Repair
When repairing a masonry wall, avoiding common mistakes can make a big difference in the quality and durability of your work. Here are some key errors to watch out for:
Using Incorrect Mortar Mix
Using the wrong type of mortar can lead to serious issues. For example, modern cement-based mortar may not be suitable for older brickwork. Always ensure that the mortar matches the age and type of your bricks.
Overfilling the Joints
Applying too much mortar can create a messy look and may allow water to seep in. Make sure to fill the joints only to the brick face, not beyond it.
Not Dampening the Bricks
Dry bricks can absorb moisture from the new mortar too quickly, which can weaken the bond. Always dampen the bricks before applying mortar to ensure a strong connection.
Rushing the Curing Process
Mortar needs time to set properly. Avoid exposing newly repaired areas to extreme temperatures or moisture for at least 72 hours. This helps the mortar cure correctly and strengthens the repair.
Ignoring Safety Precautions
Safety should always come first. Always wear protective gear, including eye protection and a dust mask, when working with mortar and masonry tools.
By being aware of these common mistakes, you can ensure a more successful and lasting repair for your masonry wall. Taking the time to do it right will save you from future headaches and costs.
Contact Apex Contractors Inc. for Your Masonry Repair Needs
Ready to restore your masonry walls? Apex Contractors Inc. is here to help! Our expert team specializes in efficient and long-lasting masonry repair solutions, from fixing small cracks to major structural repairs. Trust us to enhance the strength, durability, and beauty of your brick and masonry walls.
Contact us today to get a quote and find out how we can help with your project. For more tips, updates, and project highlights, follow us on Instagram and Facebook. Let’s bring your masonry back to life—one repair at a time!
Conclusion: Mastering Masonry Repair
Mastering how to repair a masonry wall takes patience and practice, but it’s a rewarding skill that pays off. Whether addressing small cracks or more significant repairs, each step contributes to a safer, more beautiful structure.
If you’re uncertain about tackling repairs yourself, consider consulting “masonry repairs near me” to find experts who can guide you through the process. With the right tools and knowledge, you can keep your masonry walls in excellent condition for years to come.
